
Step-by-Step Visual Guide
Telegram Bot Expert Installer Tutorial Article
Connect to any Linux VPS from Windows through Telegram Bot Expert Installer in your local browser, deploy bots via Webhook or Polling, and manage services, logs, health checks, and backups effortlessly.

Architecture & Core Capabilities
- Local Browser Control: Running
Start-Expert.bat(or the PowerShell installer) serves the UI locally athttp://127.0.0.1:4780/while SSH handles all remote server operations. - Automatic Runtime & OS Detection: Supports Ubuntu, Debian, AlmaLinux, and Rocky Linux, preparing
Python,Node.js,Go,PHP, orDockerprojects assystemdservices. - Multilingual & Dual-Theme UI: Switch anytime between English, Persian, Russian, and Chinese plus Dark/Light mode from the header.
Fast Track from Launch to Maintenance
- 1. Start on Windows: Run
install-expert.ps1or extract the ZIP and openStart-Expert.bat(first run builds packages for a couple of minutes—keep the console window open). - 2. Run the 6-Step Wizard: Choose
WebhookorPolling→ test SSH → inspect VPS scan → enter@BotFathertoken & IDs → choose Git/local path → deploy. - 3. Operate & Protect: Control start/boot in
Dashboard, inspectLogs, fix alerts inHealth, and snapshot configs inBackup.
1. Dashboard & Service Lifecycle Control
Opening http://127.0.0.1:4780/ loads the Dashboard, giving live visibility into bot and VPS health:
- Telemetry Cards: View live
Bot status, deploymentMode, VPS hardware usage (CPU · RAM · Disk), bot handle (@), andStart on bootstate. - Service Action Bar: Use
Start,Stop,Restart,Enable on Boot, andDisable on Bootdirectly over SSH. - Top Controls: Toggle
Language(4 languages) andTheme(Dark / Light) from the top-right header.
First-Run Note: Before finishing the Install Wizard on a new VPS, cards show
Stopped and Offline; once deployed, the wizard redirects straight back to your active Dashboard.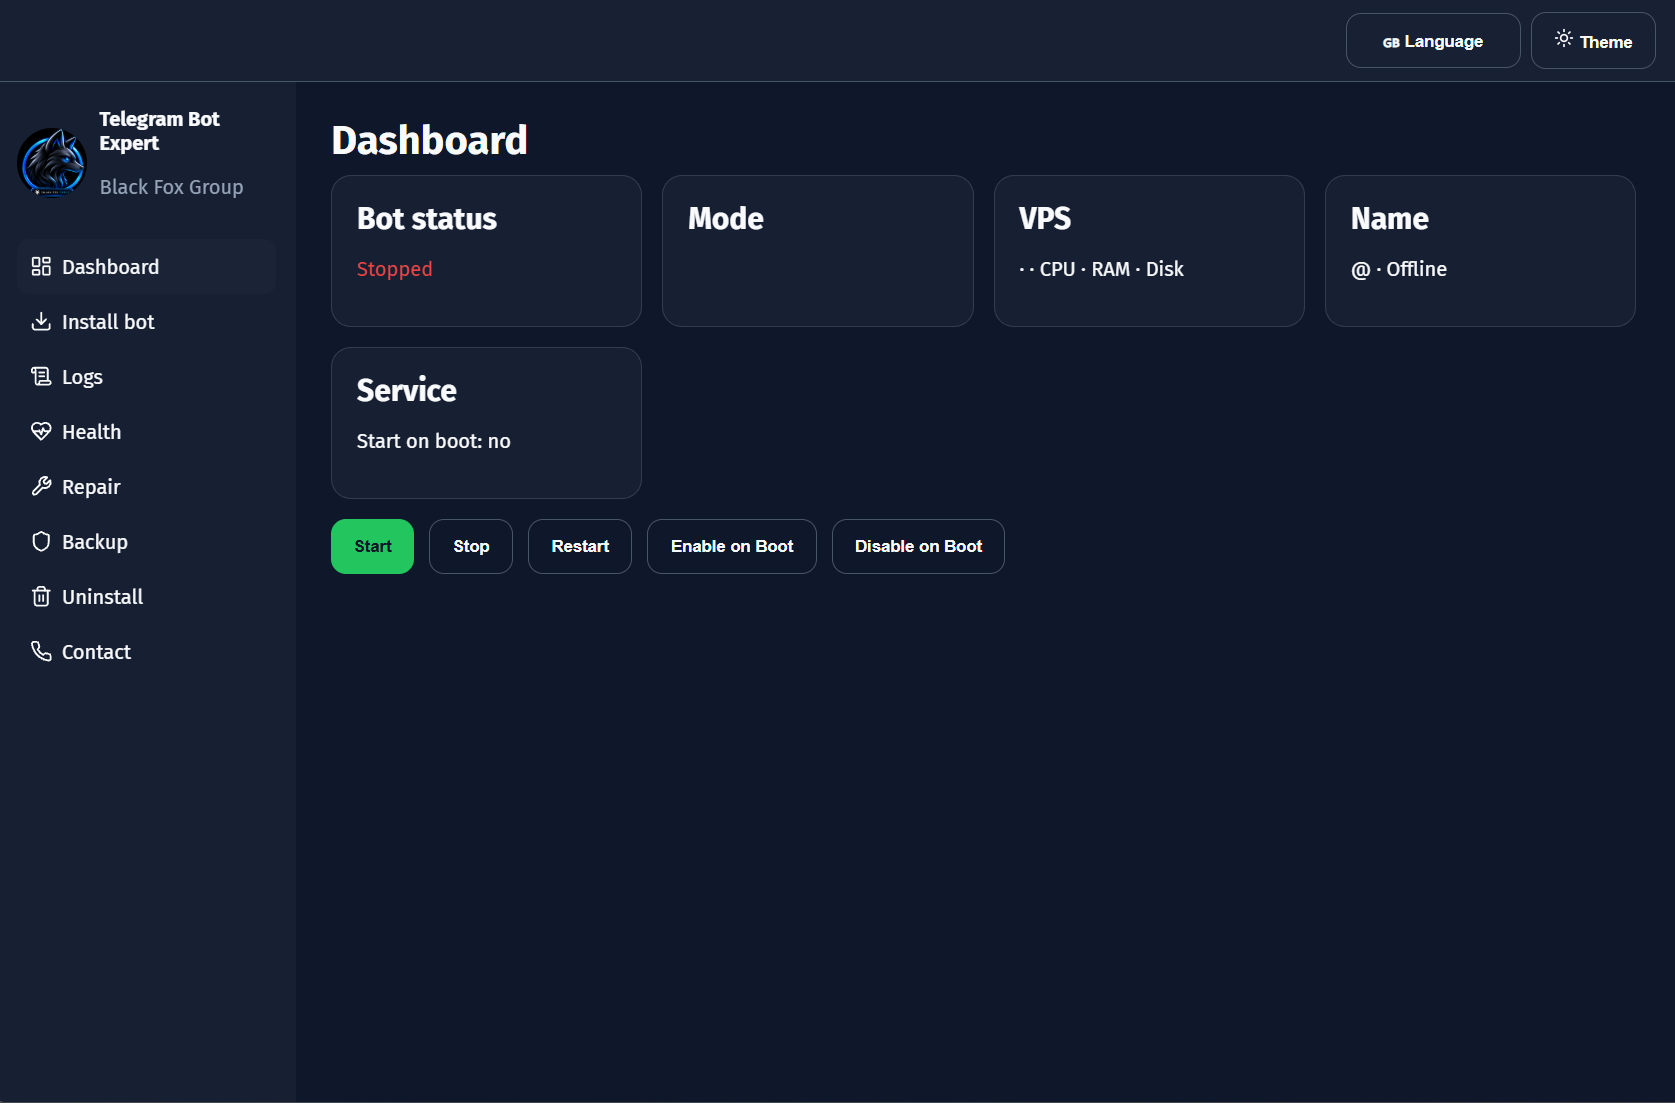
2. 6-Step Install Wizard (Webhook vs Polling)
Open Install bot, pick your deployment path, and click Start install steps:
- Mode Selection: Choose
Install with Webhook(requires domain, HTTPS, SSL cert email, and Nginx reverse proxy targeting your listen port such as8080) orInstall without Webhook(domain-freePolling). - Steps 1 & 2 — SSH Connection: Enter VPS
Host, SSH port (22), username (root), and password or SSH private key, then test connectivity. - Step 3 — Automatic VPS Scan: Displays detected OS, CPU cores, RAM, disk space, kernel, open ports, and readiness checks.
- Steps 4–6 — Bot Config, Source & Deploy: Fill
@BotFathertoken, name, username, admin/support IDs, language, timezone, and install folder (default/opt/telegram-bot); link aGitrepository/branch or existing server path, run pre-checks, and execute automated installation.
Quick Recommendation: If you do not yet point a domain at the VPS, select
Install without Webhook (Polling) to bring the bot online immediately.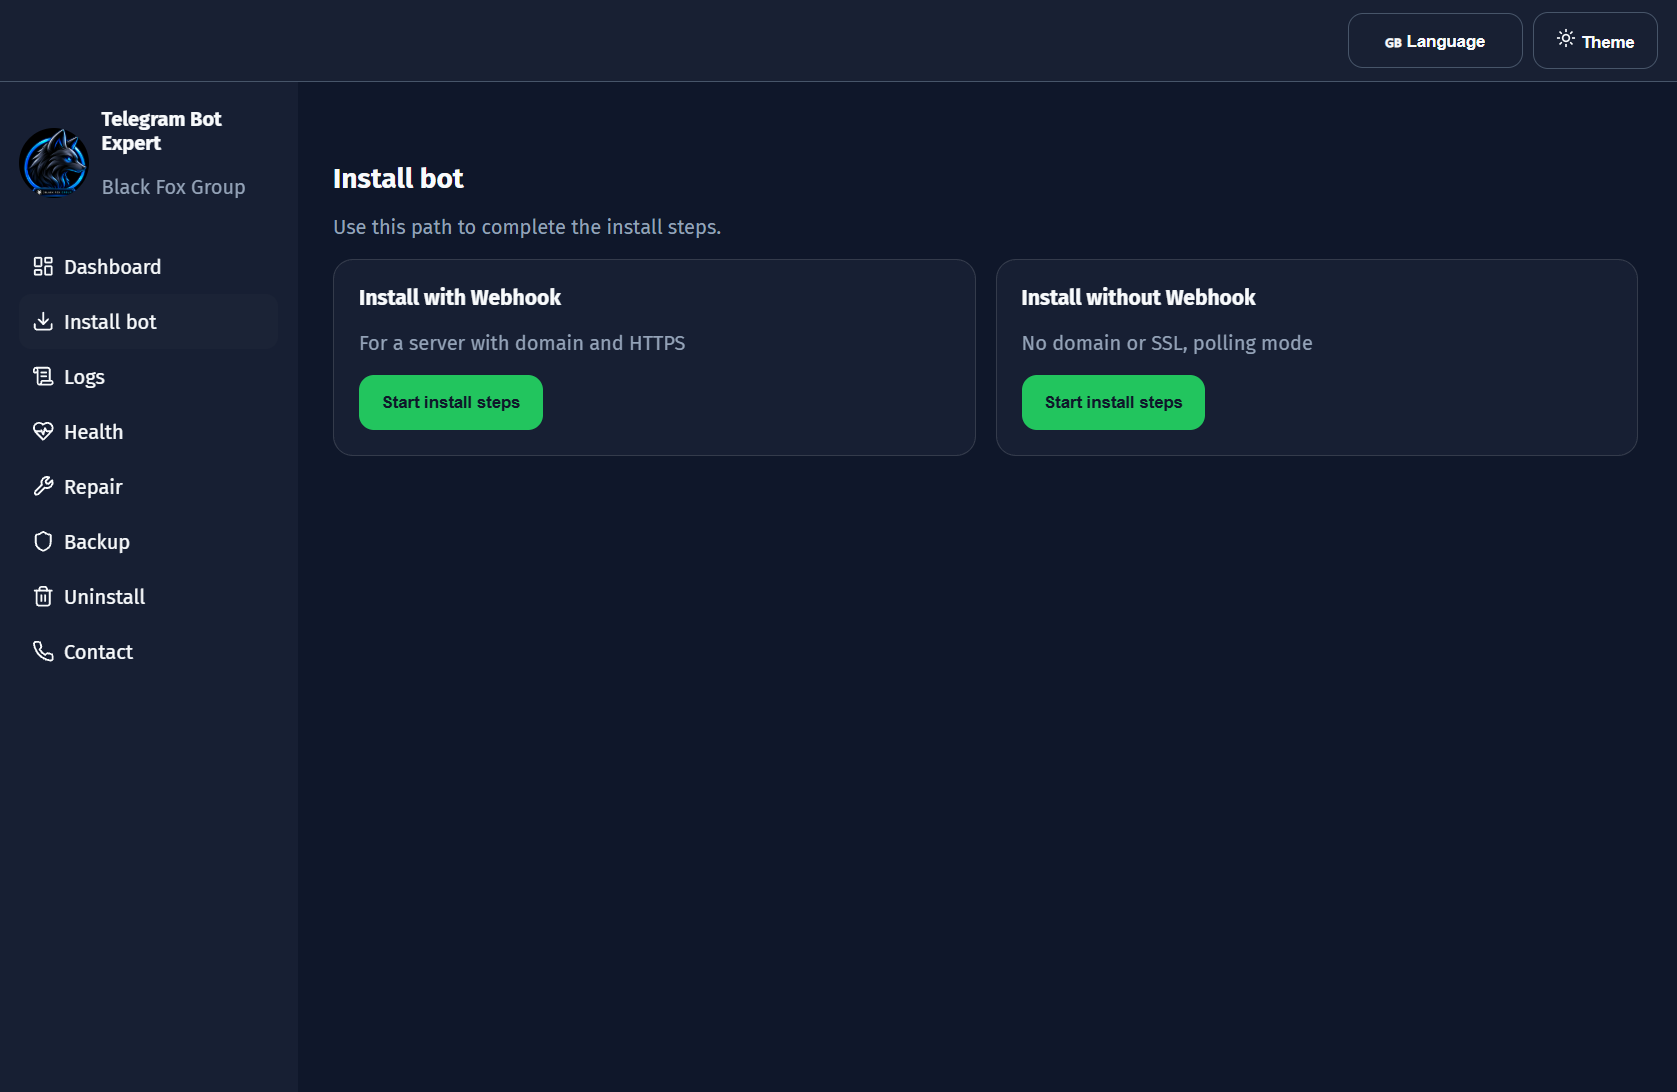
3. Live Service Logs & Export (Logs)
Monitor bot output and trace startup issues from the Logs tab:
- Live Log Streaming: Click
Refreshto pull recent remote service stdout/stderr output. - Clean View & Export: Clear the on-screen buffer with
Clearor save a local copy namedbot.logviaDownload log.

4. Automated Diagnostics & Repair (Health & Repair)
Use the Health and Repair pages whenever a service stops or behaves unexpectedly:
- System & Bot Health Checks: Each check reports clear status badges along with a plain-language summary.
- One-Click Auto-Fix: Repairable checks display an interactive fix button that resolves the issue over SSH and refreshes diagnostics.
Diagnose Before Reinstalling: Always check
Health first—port bindings, permissions, or stalled units often recover with a single Auto-Fix click.
5. Snapshots, Restore & Cleanup (Backup)
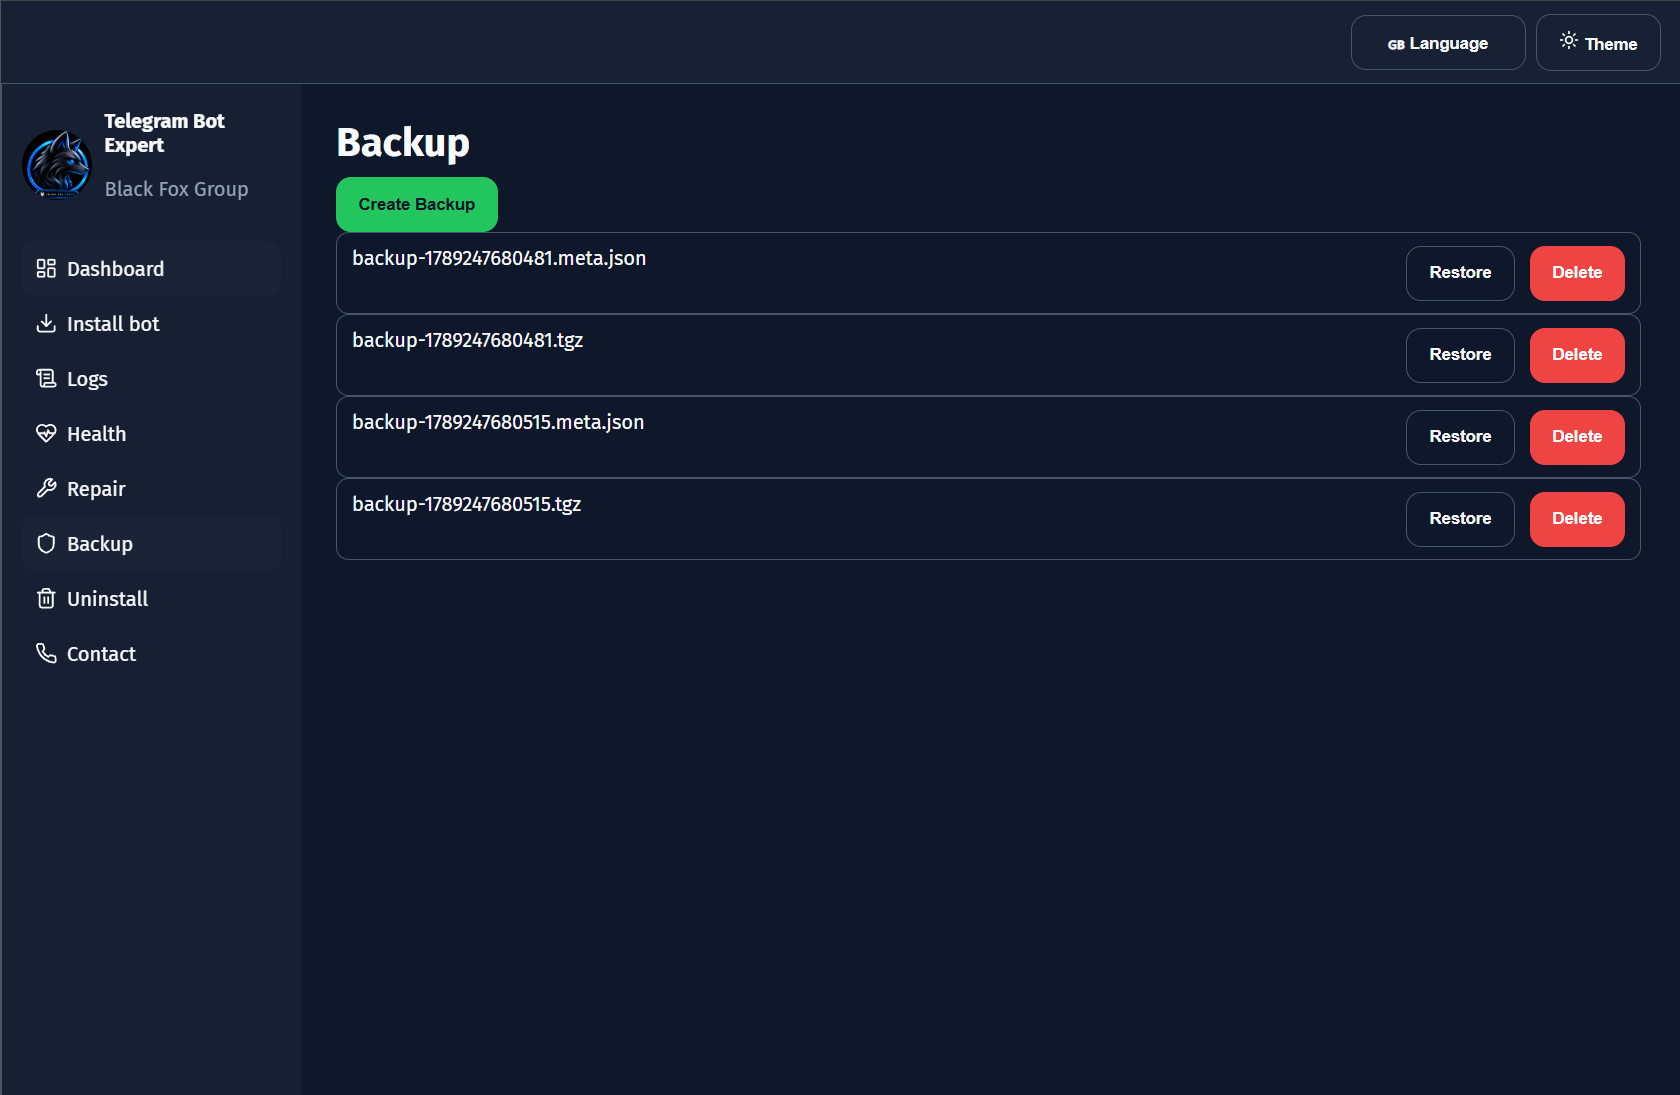
Protect bot code and configuration before edits or server changes in the Backup tab:
- Create Backups: Click
Create Backupto generate a compressed.tgzarchive paired with a.meta.jsonfile. - One-Click Restore & Cleanup: Roll back safely using
Restore(with confirmation prompt) or remove old snapshots viaDelete.
6. Controlled Uninstall Levels & Updates (Uninstall & Contact)
Safely tear down deployments or check for updates using the final sidebar tabs:
- 3 Uninstall Scopes: Choose
Remove app(keeps data intact),Remove app and data, orRemove everything(removes bot service, files, Nginx settings, and data). - Contact & Updates: Quick access to
foxnext.net,BlackFoxGroupon GitHub, and theUpdatelink.
Safety First: Always export
data/ backups before triggering Remove everything.

7. Frequently Asked Questions & Troubleshooting (FAQ)
| Issue / Question | Likely Cause | Resolution |
|---|---|---|
| Logs or Health asks to test VPS connection first | No active VPS session is connected yet. | Complete SSH authentication in Install bot before reading live server metrics or logs. |
| Webhook domain check fails during Step 5 | Domain A-record does not resolve to VPS IP or ports 80/443 are blocked. | Verify DNS pointing and firewall, or switch to Install without Webhook (Polling). |
| First run of Start-Expert.bat stays in terminal for a while | Tool is installing npm dependencies and building the app on first launch. | Keep the console window open until http://127.0.0.1:4780/ opens automatically. |
| How do I update my bot without risking config loss? | Existing setup needs a rollback snapshot before modifying files. | Run Create Backup under Backup before editing or use Remove app only. |
| Where are tokens and SSH keys stored? | Secrets remain local and must never be committed publicly. | Secrets stay encrypted locally; never upload data/, .env, or master.key. |